How to make a wedding seating chart
When to start, how to group guests, who sits where, and how to turn the plan into a sign and cards. A practical order of work for a wedding seating chart.

In short
- Start the real chart once most RSVPs are in. The Knot suggests an RSVP deadline at least 2–3 weeks before the wedding, and caterers usually want final numbers about a week before.
- Get the room plan and table sizes from the venue first. A 60-inch round seats 8 comfortably; a 72-inch round seats 10.
- Seat the people with fixed places first (couple, parents, wedding party), then whole households and friend groups, then fill the gaps.
- Decide how guests will find their seat: one sign listing names by table or A–Z, escort cards, or both.
A seating chart is a small logistics job: a fixed number of chairs, a list of people, and a few relationships to respect. It goes fastest in a fixed order. Each step below depends on the one before it.
1. Wait for the replies, but not too long
You can sketch early, but the real chart starts when the RSVPs are in. The Knot suggests setting the RSVP deadline at least two to three weeks before the wedding. Caterers and venues usually want a final headcount about a week before. That leaves roughly one to two weeks for the chart, which is enough if the next steps are ready.
Chase the missing replies a few days after the deadline. A chart with ten “maybe” guests is a chart you will redo.
2. Get the room and the tables from the venue
Ask the venue or rental company for three things:
- A floor plan with the dance floor, bar, buffet, doors and the spot for the head or sweetheart table.
- Table sizes and how many of each. Capacity depends on the table, not on your list.
- Their seating limit per table, if they have one. Rental companies know their own chairs and linens.
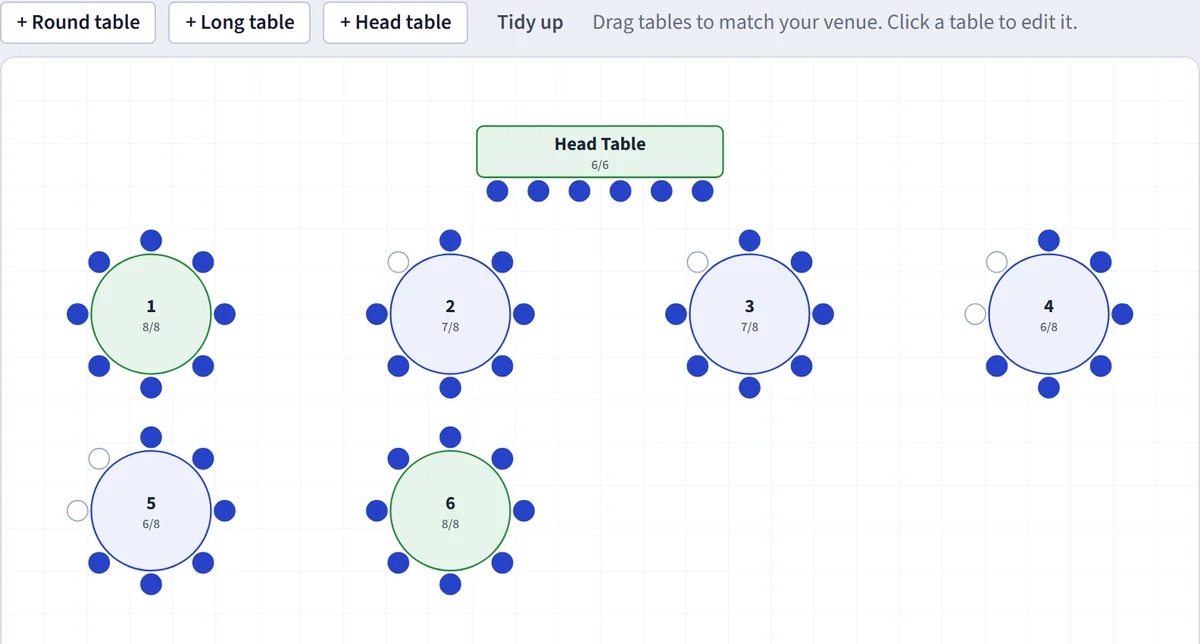
As a starting point, a 60-inch round seats 8 comfortably and a 72-inch round seats 10. An 8-foot banquet table seats 8 to 10, depending on whether you use the ends.
Divide your confirmed guests by the seats per table and round up; that is the minimum number of tables. Add one spare place or two for late changes.
3. Group your guests before you seat anyone
Go through the guest list once and give each person a group: “Smith household”, “college friends”, “Dan’s work”, “Mom’s side, cousins”. Couples and families stay together; that is the one rule almost nobody breaks.
Groups make the rest mechanical. You are no longer placing 140 people, you are placing perhaps 25 groups.
4. Seat the fixed places first
Some seats are decided by tradition or by the room:
- The couple, at a sweetheart table or a head table with the wedding party.
- Parents and grandparents, at the tables closest to the couple. If divorced parents do not get along, give each their own table, each hosting their own family and friends.
- Guests who need easy access: older relatives away from the speakers, wheelchair users near a clear path, parents with babies near a door.
The etiquette guide covers the usual questions, such as plus-ones, children and single guests.
5. Fill the tables group by group
Place the biggest groups first, since they are the hardest to fit. Then fill the gaps with the smaller groups and singles. If a group is larger than a table, split it between two tables that sit next to each other.
Two habits avoid most late-night rework:
- Leave each table one seat short at first. Filling a gap is easy; moving a whole family is not.
- Seat people who know at least one other person at the table. A table of strangers is fine at a conference, less so at a wedding.
6. Choose how guests find their seat
There are three common ways to show the plan at the entrance:
| Option | What it is | Good when |
|---|---|---|
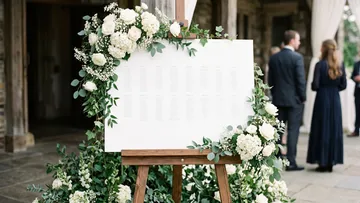
| Seating sign | One large print on an easel or mirror, names listed by table or alphabetically | Most weddings; one item to print and set up |
| Escort cards | One small card per guest or couple with the table number, laid out on a table | You also want the cards as a keepsake, or meals are marked on the card |
| Place cards | A card at each chair | You assign individual seats, not only tables |
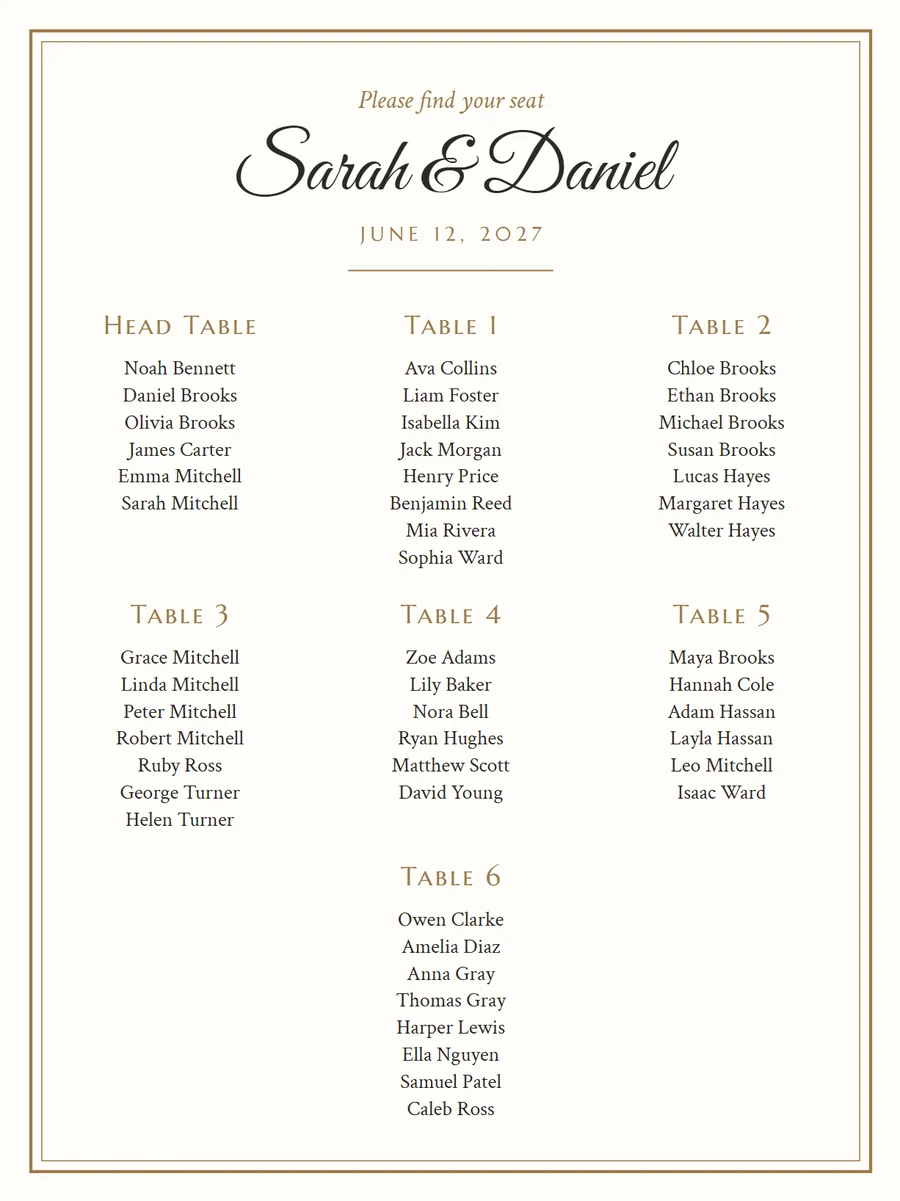
If you list names alphabetically, guests find themselves quickly. If you group by table, the sign reads like the room. For the print size and how large the names need to be, see how big a seating chart sign should be.
7. Print last, check twice
Print once the headcount is final. Before you send the file to a print shop:
- Check the spelling of every name, including accents and hyphens. Read the list aloud with someone.
- Check that every guest has a table and no table is over capacity.
- Number the tables on the sign the same way as the table cards in the room.
8. Send the plan to the venue and caterer
The sign is for guests; the venue and the caterer need a different version of the same plan. Send them, by the date in their contract:
- The floor plan with every table numbered as on the table cards, including the sweetheart or head table, the dance floor and any special tables (children, vendors).
- A list by table: guest names, the number of seats per table, and any high chairs or places kept free for wheelchairs.
- Meals and allergies by table, if the meal is plated, so servers know which plate goes where without asking.
- The final headcount, matching the plan exactly.
The seating chart maker prints this as a free “plan for the venue and caterer” PDF from the same data as the sign, so the numbers always agree.
Paper, spreadsheet or seating tool?
| Method | Works well for | Watch out for |
|---|---|---|
| Sticky notes on a paper plan | Small weddings, couples who like to see everything at once | Notes get lost; every change means rewriting the sign |
| Spreadsheet | Keeping the guest list, RSVPs and meals in one place | Hard to see the room; easy to put 11 people at a table for 10 |
| Seating chart tool | Moving people around, checking table capacity, printing the sign and cards from one list | Make sure it exports a print-ready file, not a screenshot |
Many couples combine them: the guest list in a spreadsheet until the RSVPs close, then the seating in a tool that prints everything.
Changes after printing
Something always changes in the last week: a cancellation, a late plus-one, a guest who cannot climb stairs. Decide in advance how you will handle it:
- A cancellation leaves an empty chair. Ask the venue to remove the place setting; leave the sign as it is.
- An extra guest goes into a spare seat at a table where they know someone. Write an escort card by hand in matching ink.
- Several changes at once are a reason to reprint the sign. With the plan in a tool, that is a new PDF in minutes; the print shop is the slow part, so ask about their same-day options before the week of the wedding.
Frequently asked questions
How long does a seating chart take?
For 100–150 guests, expect a first draft in an evening once the RSVPs are in, then a few rounds of changes as late replies arrive. Grouping guests by household and friend group before you start makes it much faster.
Should the seating chart be alphabetical or by table?
Both work. Guests look for their own name, so an alphabetical list (name, then table) is quicker to scan when the list is long. A list grouped by table looks tidier and lets people see who they sit with. The PlanPrint sign can do either from the same plan.
Do I need assigned seats at all?
No rule says you must. Many couples assign tables (guests choose their own chair at the table) rather than individual seats. Assigned tables help the caterer when meals were chosen in advance and stop the last guests from hunting for two free chairs together.
What if someone RSVPs after the chart is printed?
Keep one or two spare seats. The Joy wedding planning guide suggests buffer seats for exactly this. If you planned in a tool, you can add the guest and reprint the sign the same day.
Sources
- When should you send wedding invitations? (RSVP deadline advice), The Knot
- Wedding seating chart etiquette, The Knot
- How many people fit at a banquet table?, WebstaurantStore
- Wedding seating chart guide, Joy
Photos are AI-generated illustrations; diagrams and tool screenshots are made from the PlanPrint tools. Something out of date or wrong? Tell us and we will correct it.